
The Four Watercolor Techniques Every Beginner Should Know
A note for the creatively curious: Studio Notes is my twice-monthly newsletter about art, experimentation, and learning to see yourself as creative. Subscribe for fresh ideas, behind-the-scenes stories, and small invitations to try something new. Learn more here!
Watercolor has a reputation for being soft, peaceful, and delicate. Which is true, right up until the paint runs somewhere you did not invite it, two colors merge into swamp water, and your paper curls into a taco shell. That unpredictability is also part of what makes it so interesting.
I work primarily with watercolor and acrylic ink… very similar mediums. Both are fluid, water-based, and responsive to the amount of water on your brush and paper. Many of the same techniques work with both. The biggest differences tend to show up in the finish. Watercolor is usually softer, more transparent, and easier to lift or reactivate. Acrylic ink is often more vibrant and becomes permanent once it dries, which makes it especially useful for building layers without disturbing what is underneath.
The techniques in this guide work for both watercolor and acrylic ink. There are countless ways to use them, but most techniques begin with four foundational approaches. The difference between them comes down to two things:
How wet is the paper?
How wet is the paintbrush?
Once you understand how those two variables work together, watercolor becomes a little less mysterious. Not entirely predictable, because watercolor refuses that kind of commitment, but easier to work with.
1. Wet-on-Wet
Wet paint applied to wet or damp paper
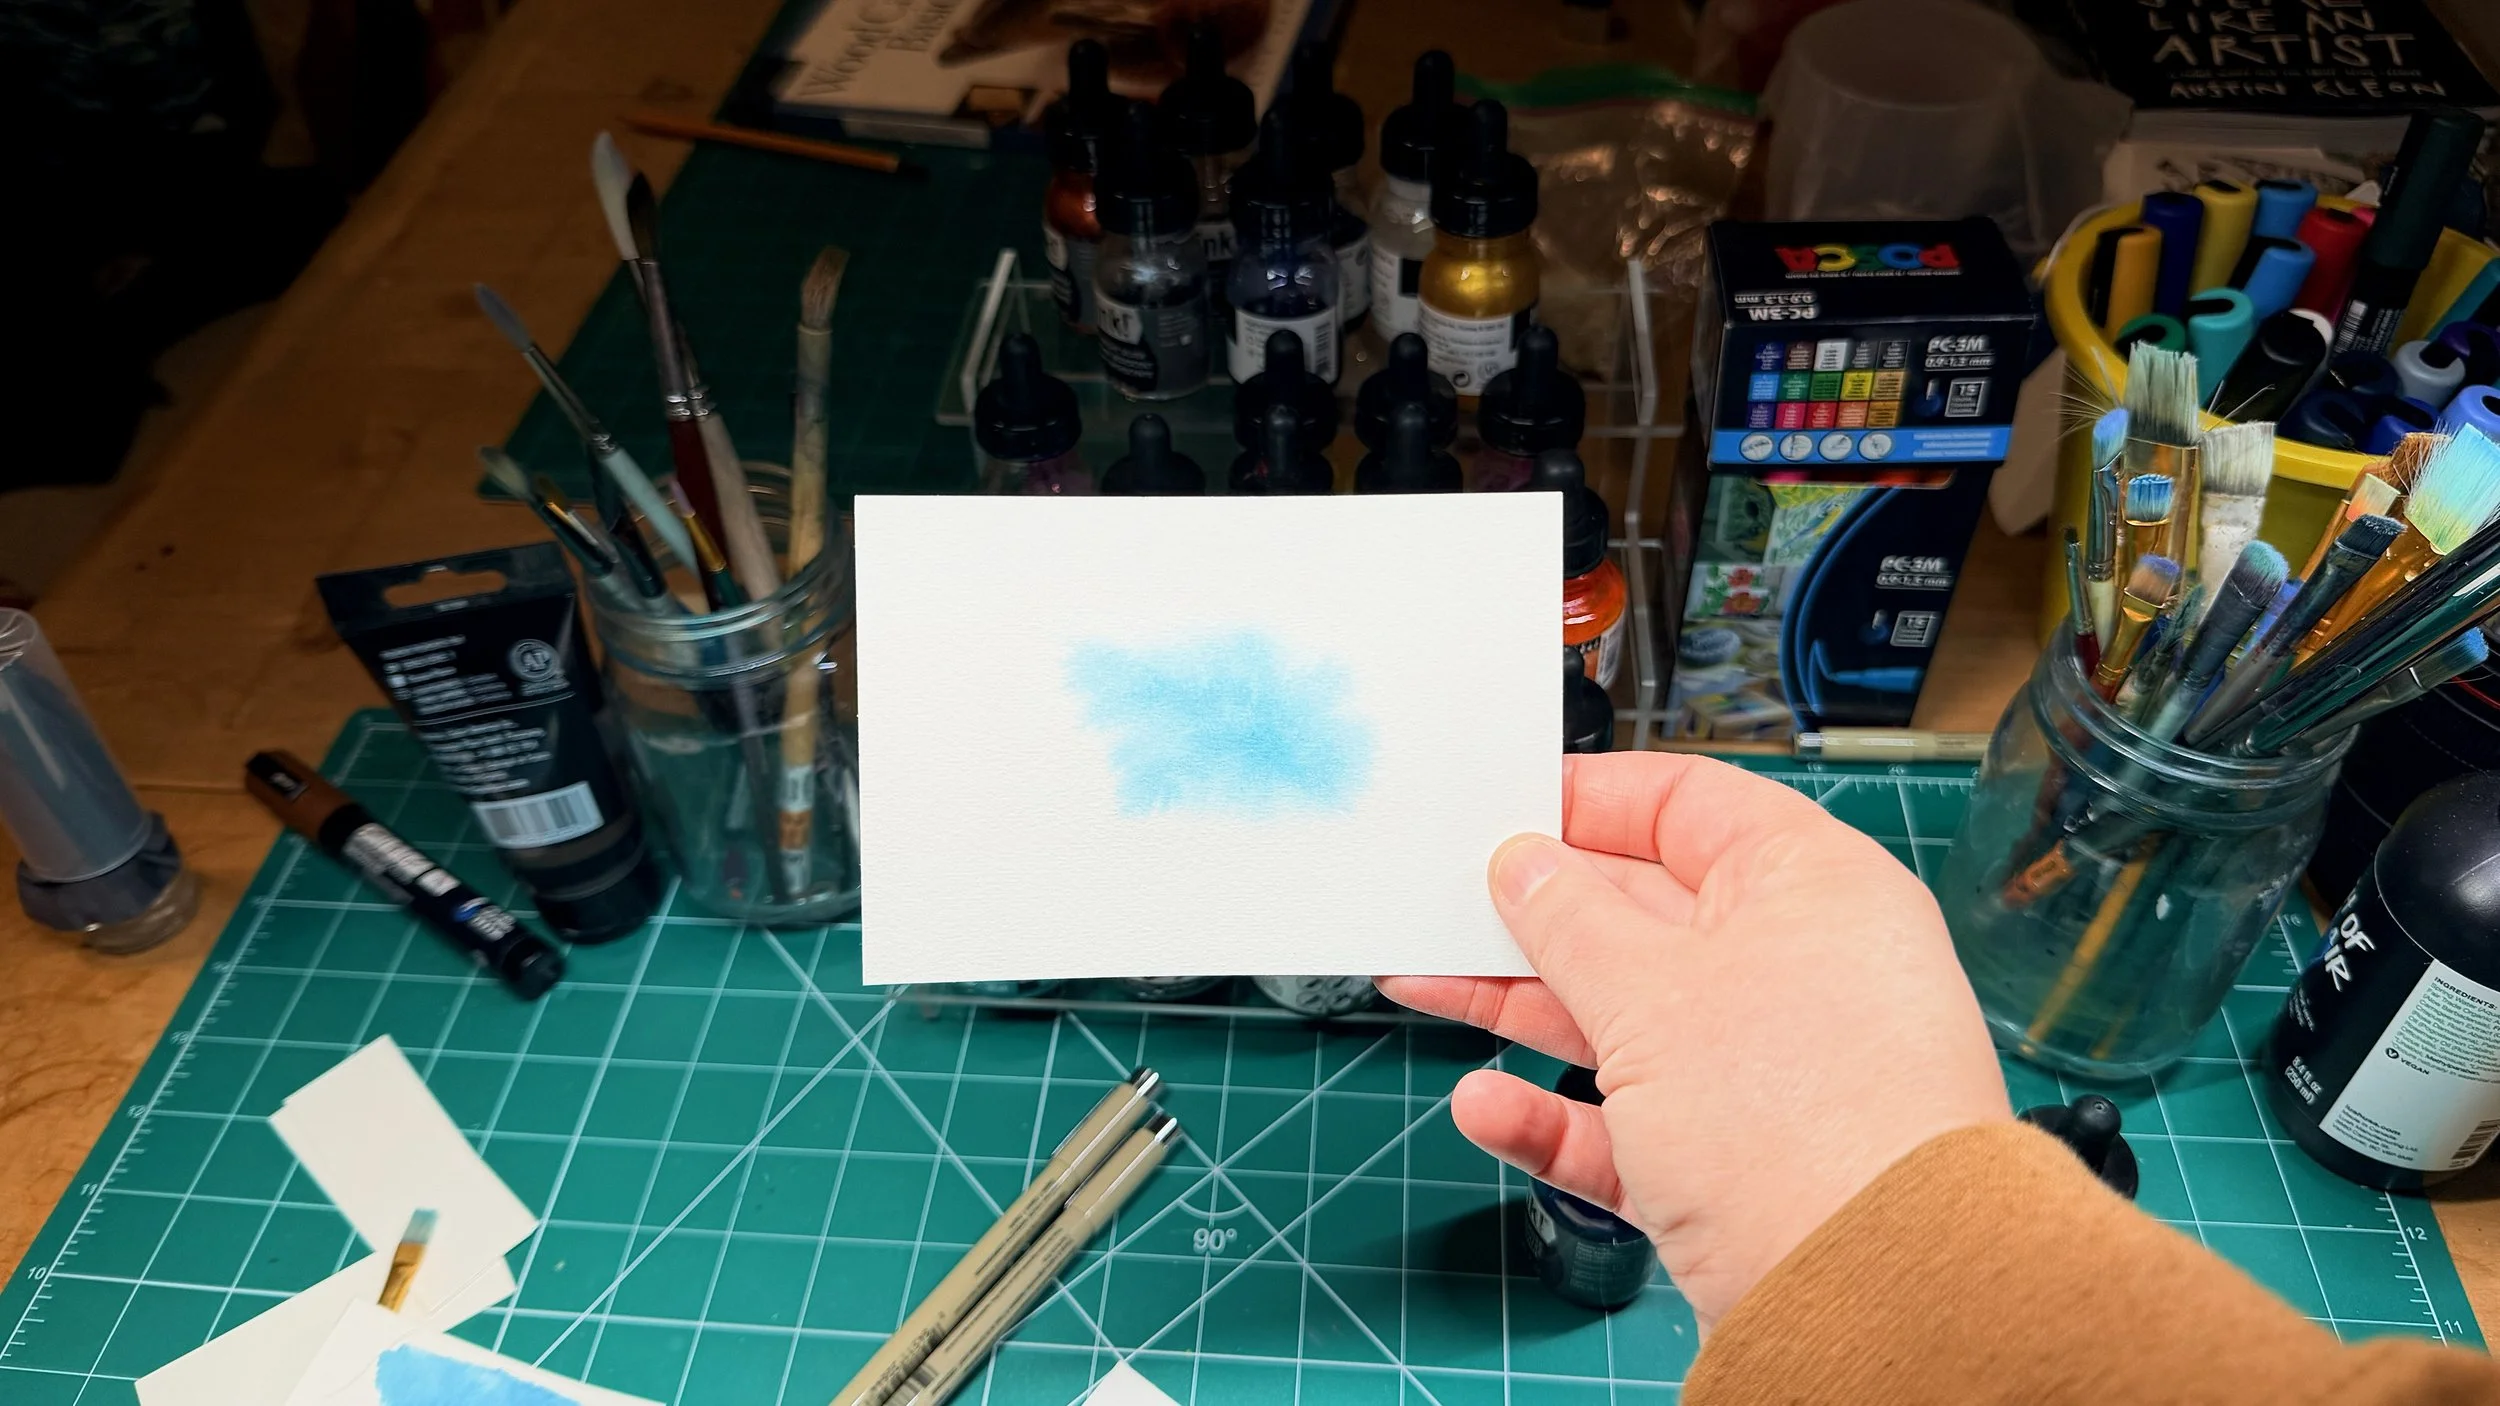
Wet-on-wet creates soft edges, blended colors, and organic shapes. Everything becomes dreamy, atmospheric, and a little unpredictable. It is watercolor’s version of, “Let’s see what happens.”
To try it, use a clean brush to apply water to the area you want to paint. The paper should have a light, even sheen. You do not want water sitting in puddles on the surface. Then, add wet paint and watch it spread.
The amount of water matters:
If the paper is very wet, the paint will travel farther and become more diluted.
If the paper is lightly damp, the paint will move less and create softer, more controlled edges.
If the paper has already started drying, the paint may create uneven edges or textured blooms.
Different papers also absorb water differently. Thin or inexpensive paper may dry quickly and buckle more dramatically. Heavier watercolor paper usually gives you more working time.
Wet-on-wet works well for:
Skies
Clouds
Water
Backgrounds
Loose florals
Abstract color blending
Anything that should feel soft or atmospheric
Do not panic if the paper curls while you work. That is normal, especially if the paper was not stretched or taped down first. We will deal with the curling later.
2. Wet-on-Dry
Wet paint applied to dry paper
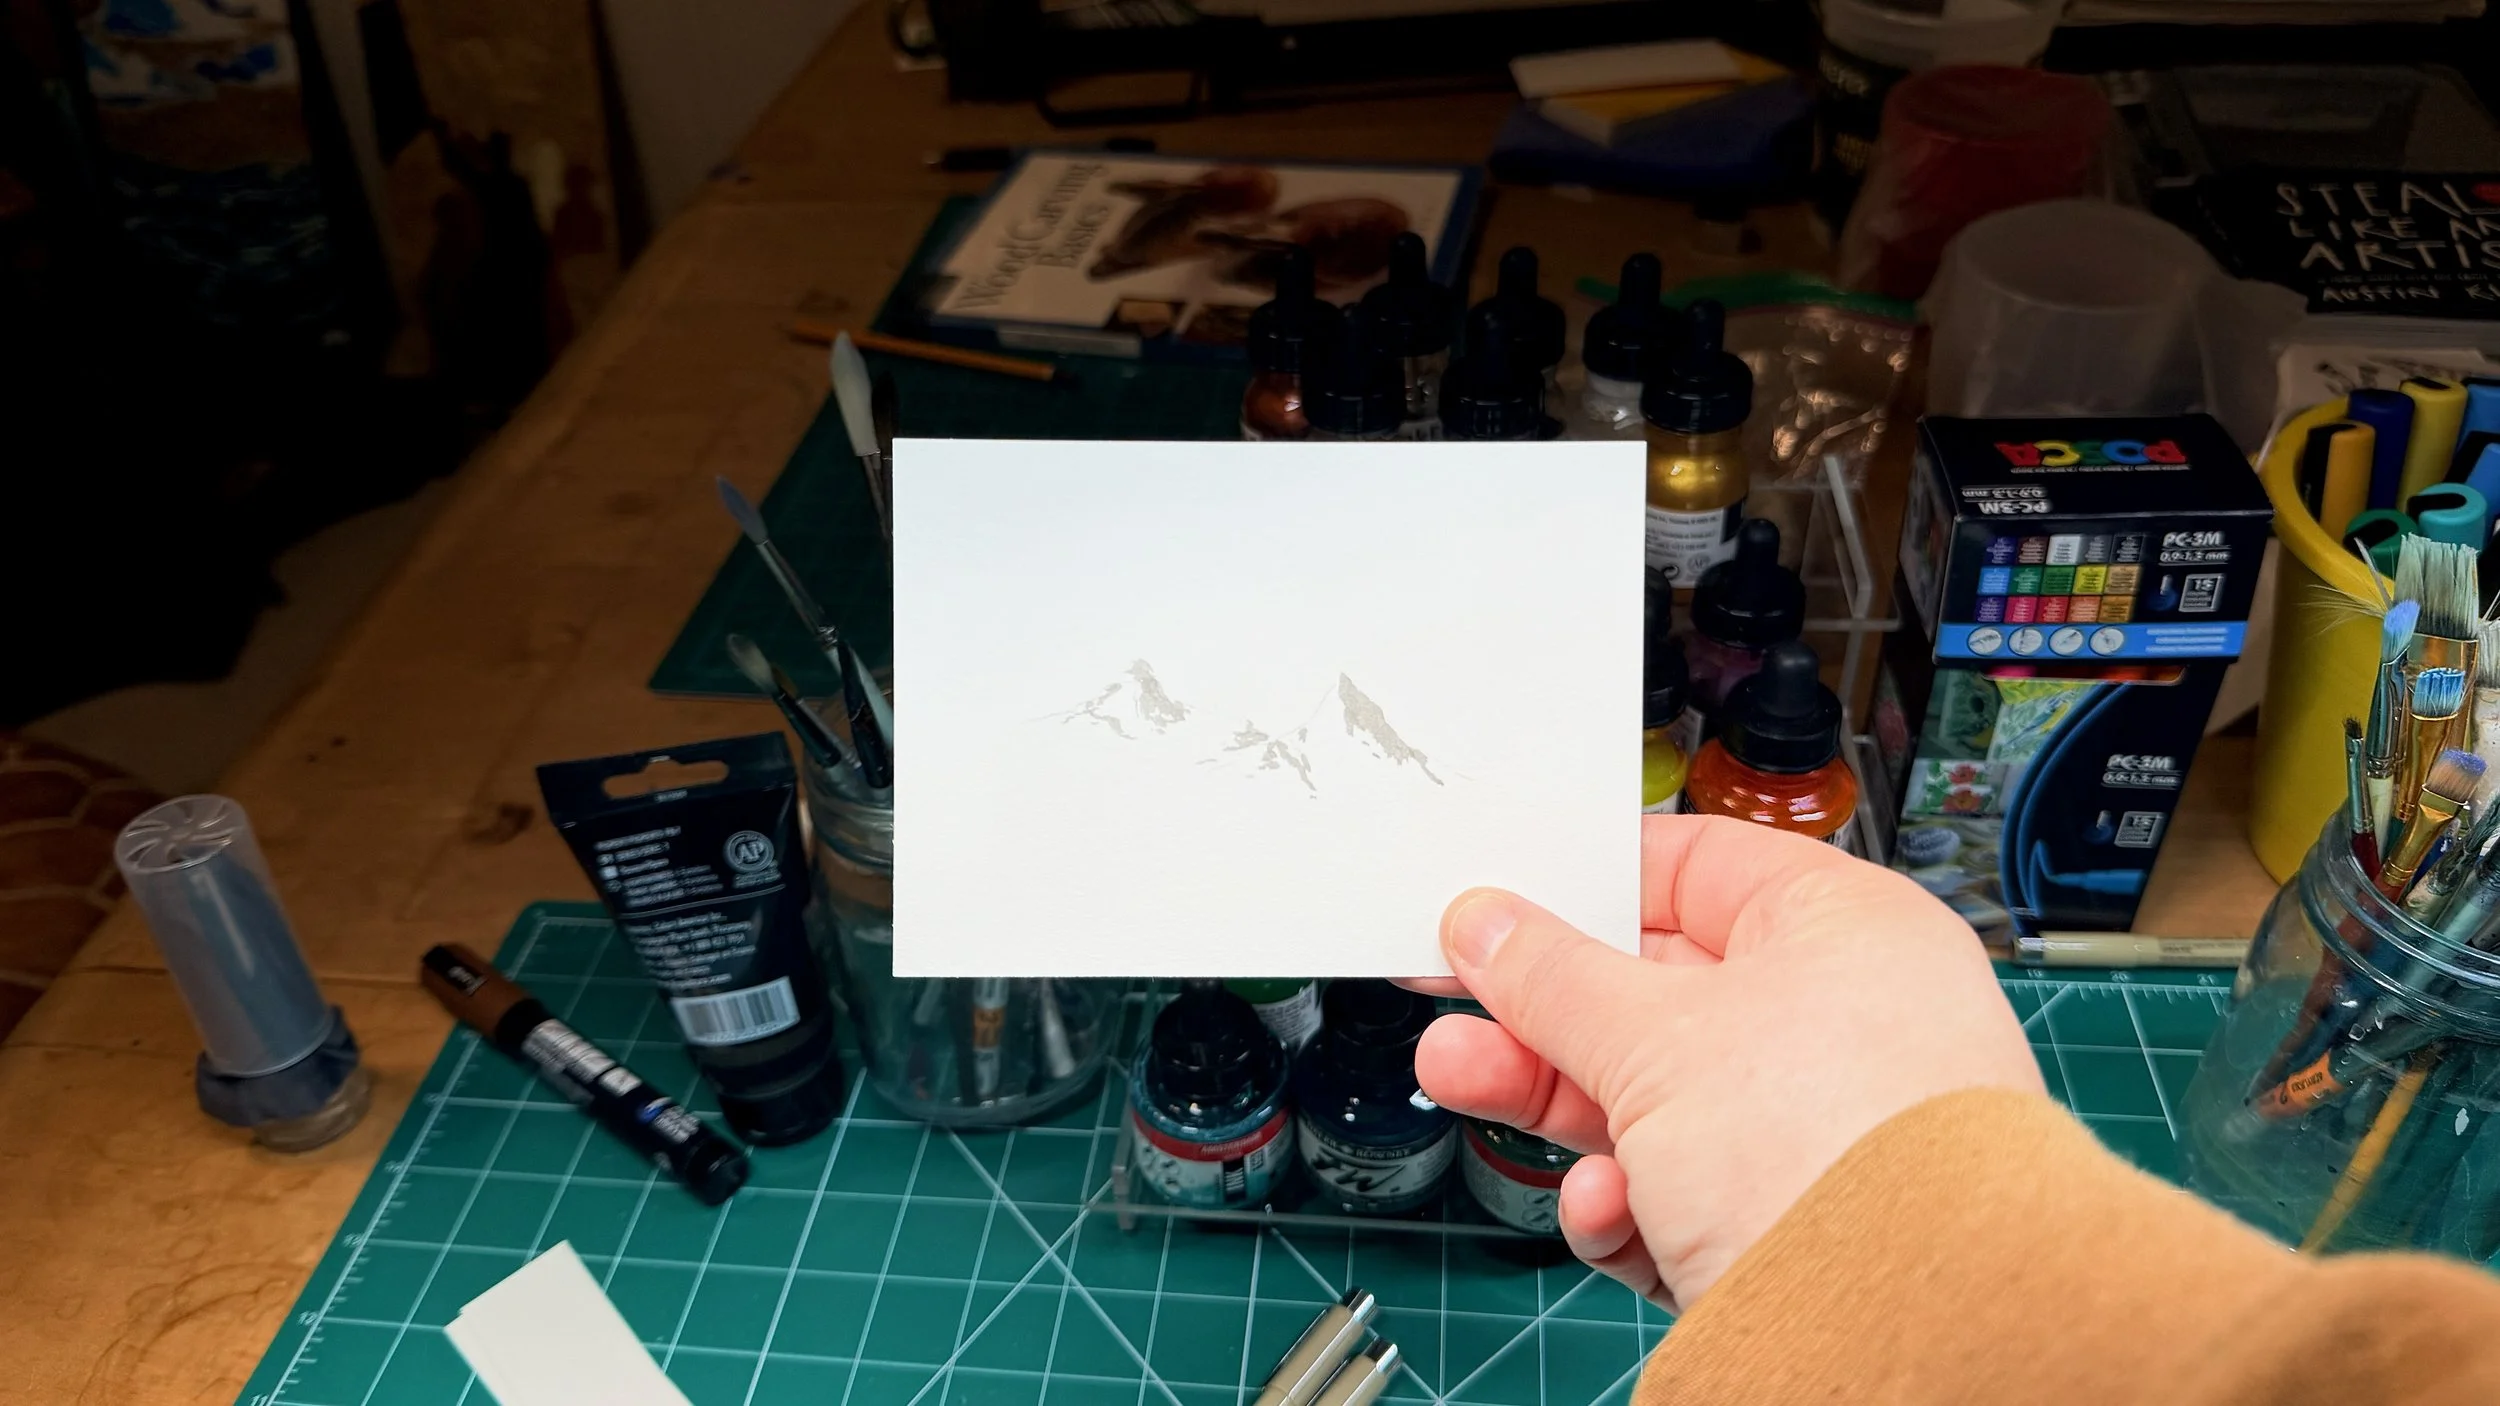
This is where watercolor acts a little more buttoned up.
Because the paper is dry, the paint stays closer to where you place it. You can create crisp edges, defined shapes, smaller details, and the temporary illusion that you are completely in control.
Load your brush with water and paint, then apply it directly to dry paper. The more water in your brush, the lighter and more fluid the mark will be. Less water and more pigment will create a darker, more concentrated mark.
Wet-on-dry works well for:
Crisp shapes
Linework
Details
Illustrations
Lettering
Building layers
Areas that need a clear edge
You can also use this technique to create a flat wash. Paint one stroke, then add the next while the previous stroke is still wet. Keep working downward so the edges blend together rather than drying into separate stripes.
3. Dry-on-Wet
Thicker paint from a barely damp brush applied to wet or damp paper
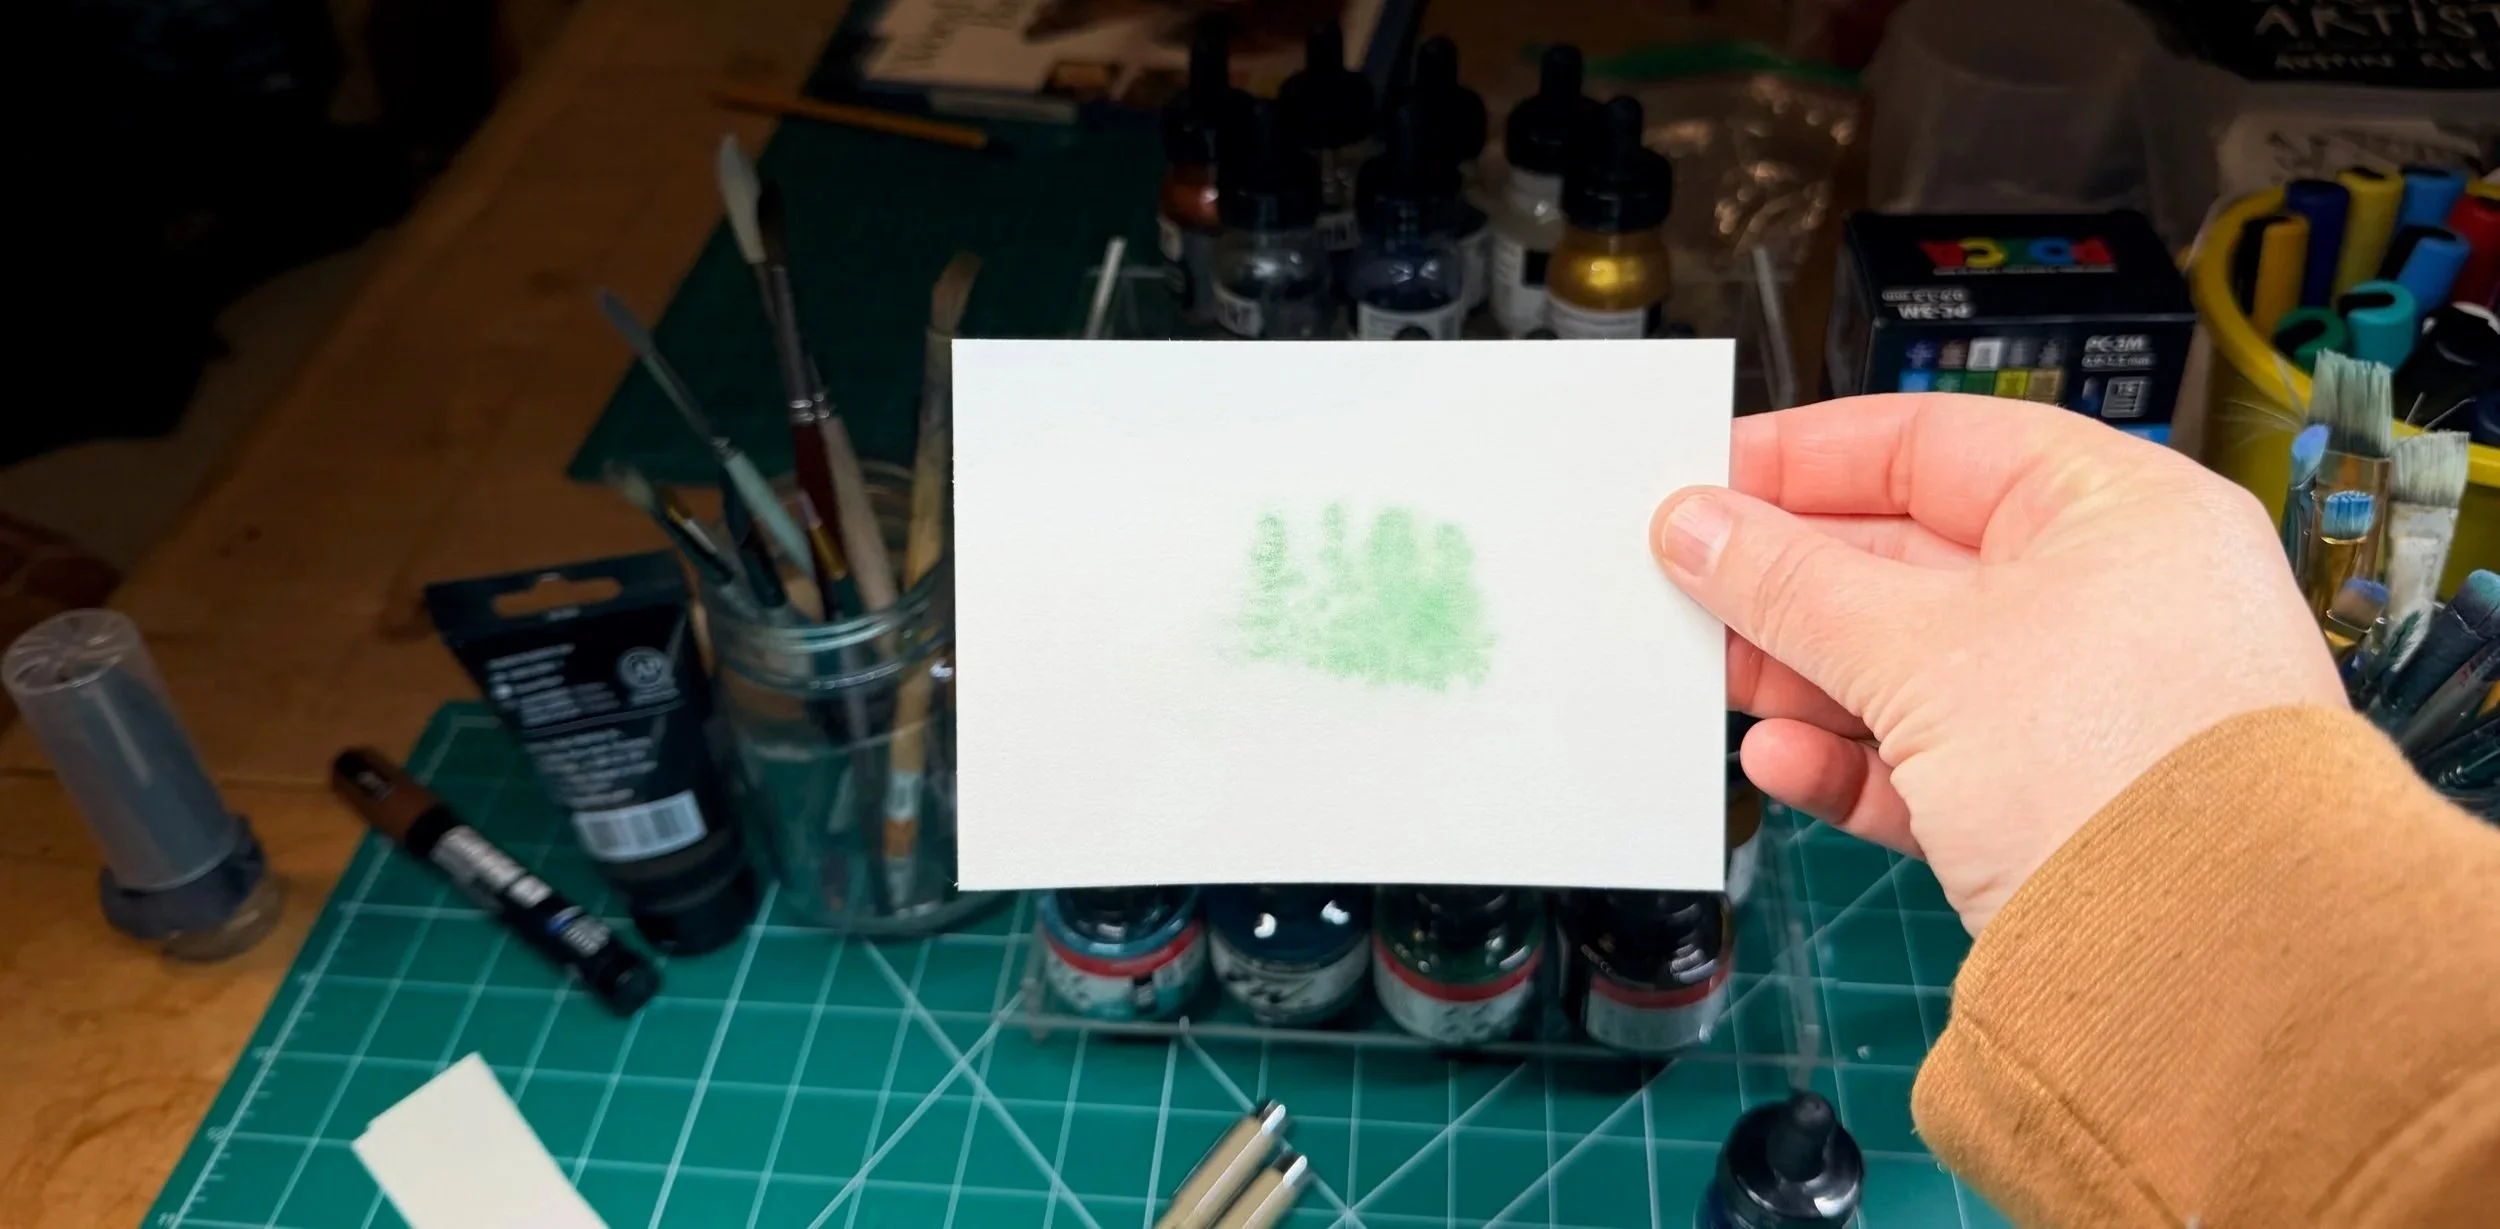
The name of this technique can vary depending on who is teaching it, but the basic idea is simple: the paper contains more water than the brush. Your brush should hold concentrated paint without being dripping wet. When you touch it to damp paper, the color will spread, but it will not race across the page as dramatically as it would during wet-on-wet.
Think of it as controlled drama.
This technique is useful when you want soft movement while keeping some structure. It can create interesting shapes that feather outward without completely disappearing into the surrounding wash.
Dry-on-wet works well for:
Shadows
Clouds
Foliage
Soft details
Adding concentrated color to a wash
Creating depth within a wet background
Timing makes a major difference here. If the paper is very wet, the paint will spread farther. As the paper dries, your marks will hold their shape more clearly. This is one of those techniques that becomes easier once you stop trying to memorize it and start watching what the water is doing.
4. Dry-on-Dry, or Dry Brush
Very little water and concentrated paint applied to dry paper
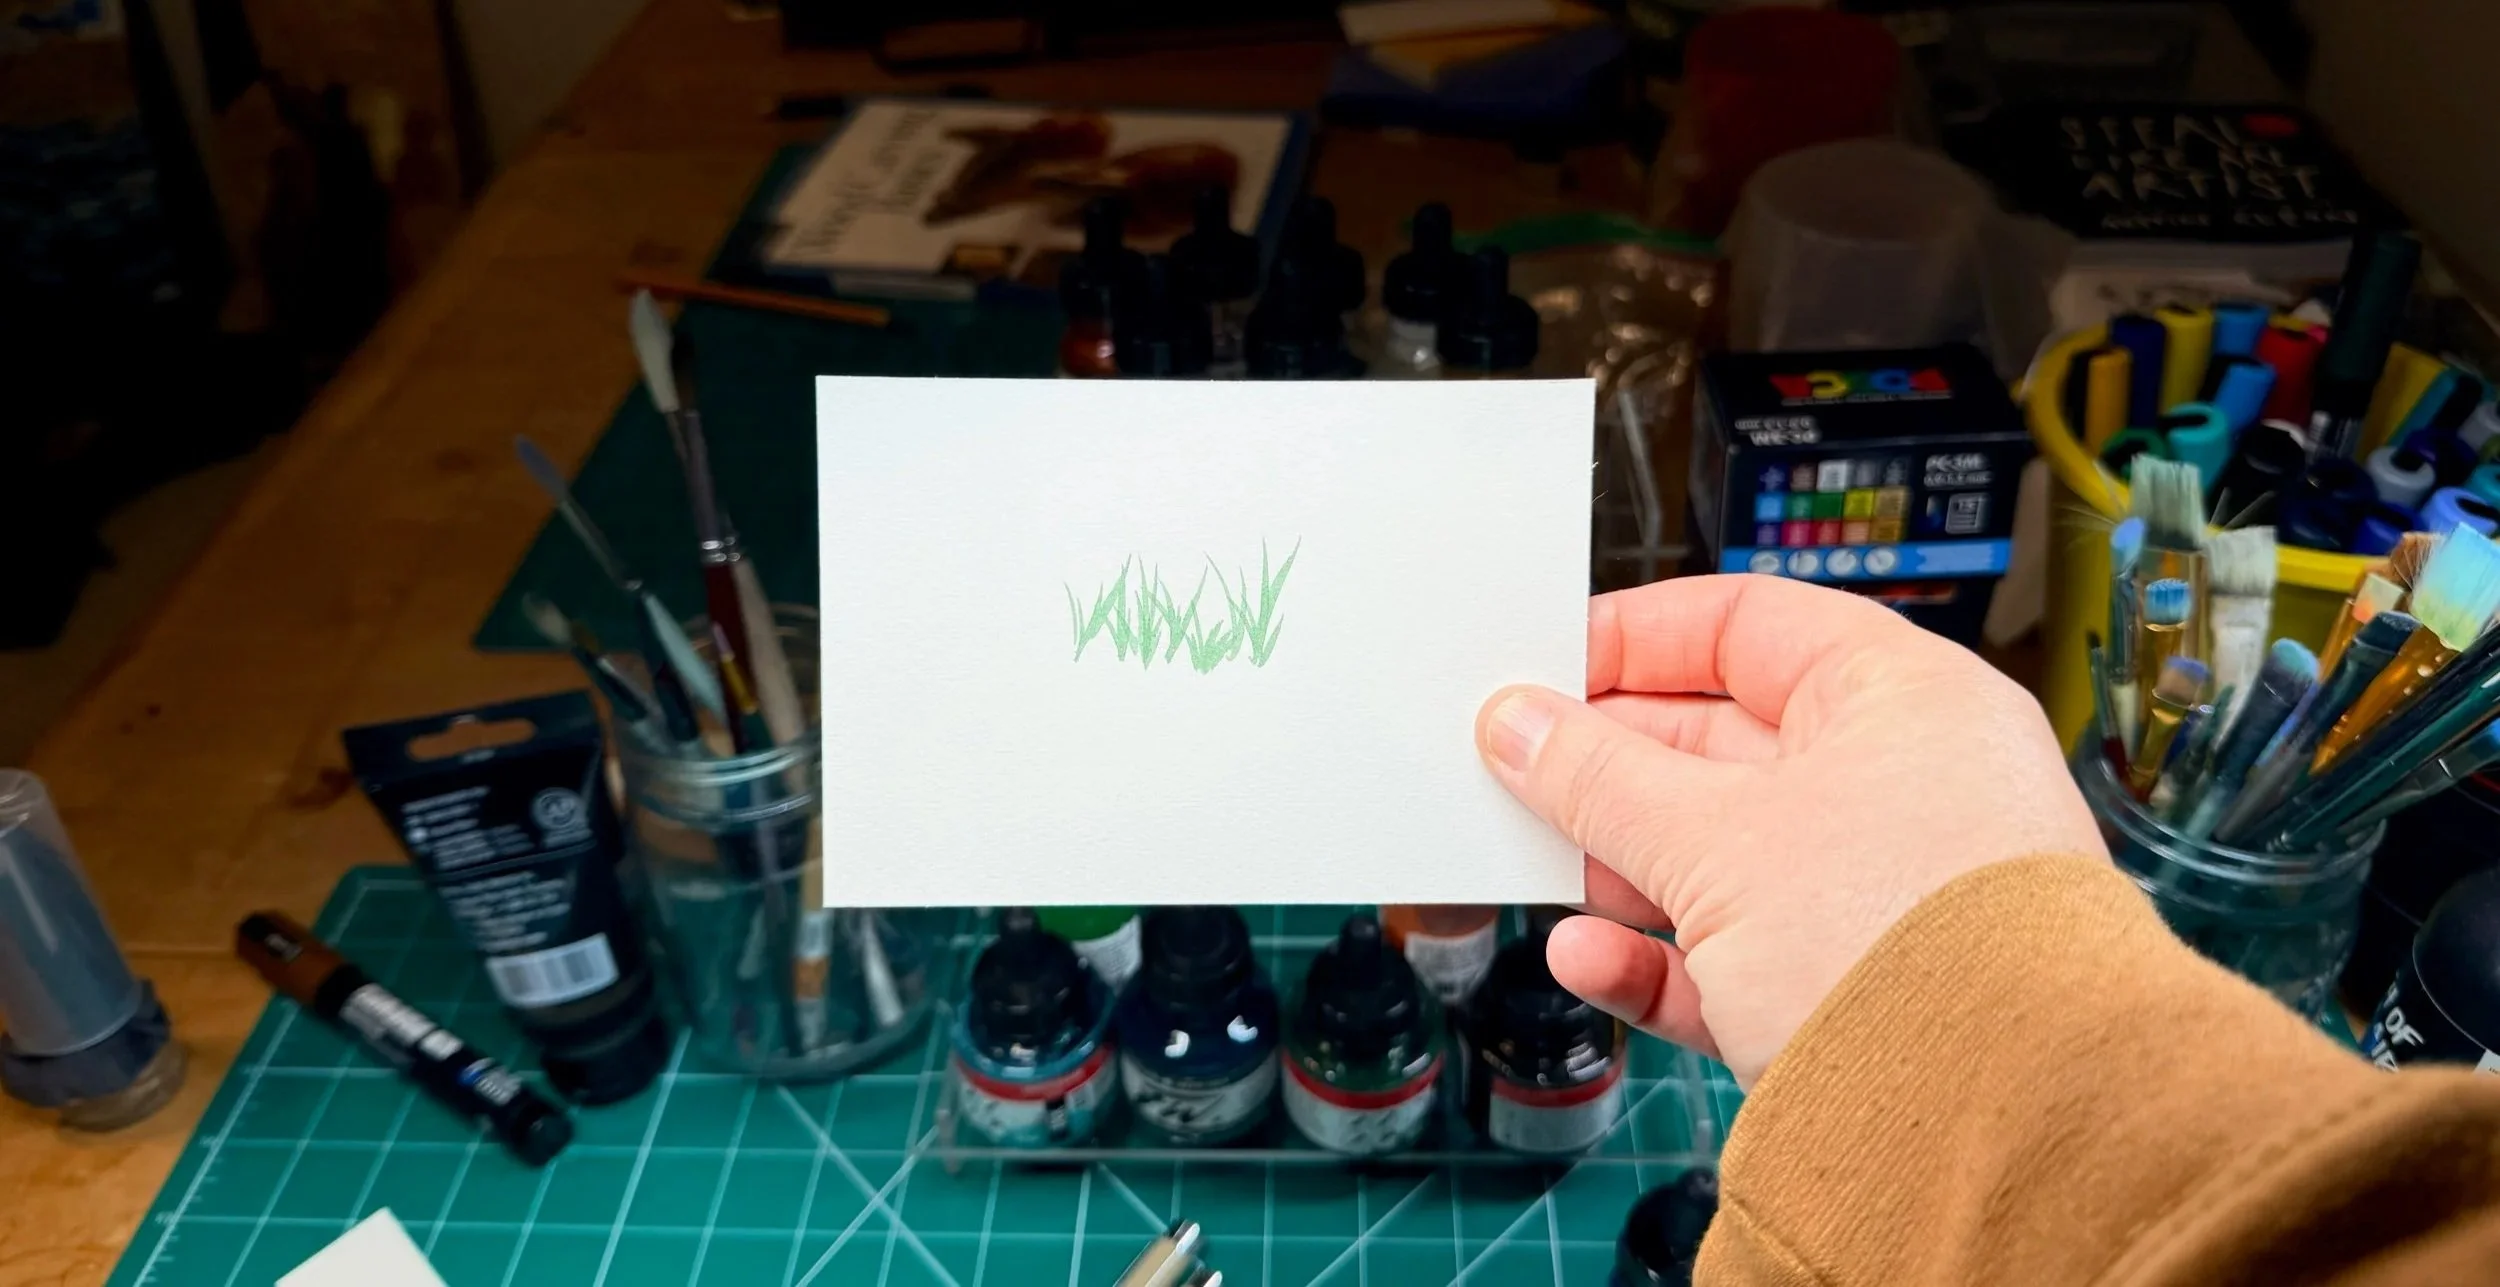
For dry brushing, remove most of the water from your brush before picking up the paint. You can gently blot the brush on a towel, load it with pigment, and then drag it lightly across dry paper.
The brush skips over the paper’s textured surface, leaving broken, scratchy marks rather than one smooth stroke.
Dry brushing is especially effective on cold-press watercolor paper because its texture catches the paint unevenly.
It works well for:
Grass
Tree bark
Waves
Rocks
Fur
Weathered surfaces
Rough textures
Anything that needs to look a little scrappy in the best way
Try holding the brush farther back from the tip and moving it loosely across the page. Pressing too hard can flatten the brush and turn the mark into a solid shape.
How to Practice All Four Techniques
Divide a sheet of watercolor paper into four sections and label them:
Wet-on-wet
Wet-on-dry
Dry-on-wet
Dry-on-dry
Use the same color in each section. This makes it easier to see how the amount of water changes the paint’s behavior.
Pay attention to:
How far the paint spreads
Whether the edges are soft or crisp
How dark the pigment appears
How the paper’s texture affects the mark
What happens as the paper begins to dry
Do not worry about creating a finished painting. The goal is to observe. Watercolor makes much more sense when you treat the page like a tiny laboratory instead of a test you can fail.
